Pressure Points in Hands and Feet. VR Design Research Lab
Everything to do with Unity Dev
My process started with Alejandro helping me set up the XR rig so I could import the first model for scale and general feel for how is it to be on a hand.
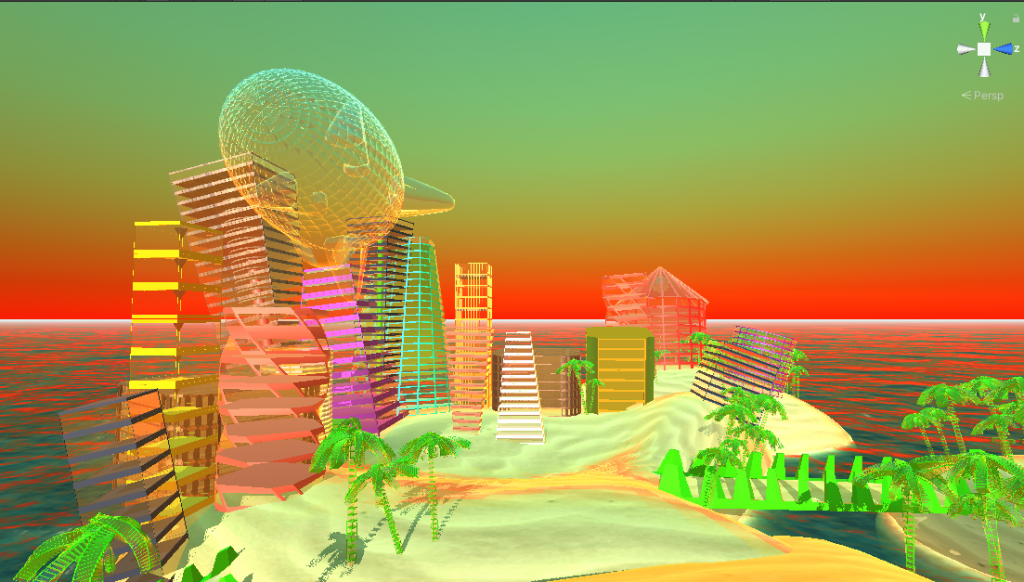
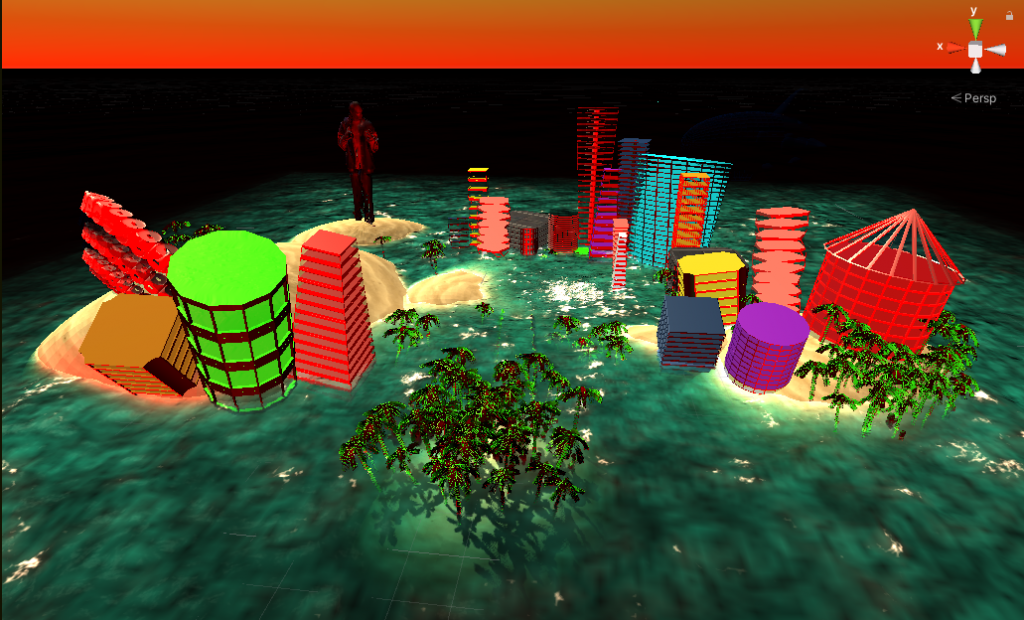
After I had finished making the model I imported it into Unity to work on the scale and the other aspects like skybox and teleportation+movement.
Because I wanted the teleportation to be controlled by the areas so that the person would not just teleport into the same place. So I made anchor-based teleportation by placing planes with anchor colliders in particular areas to navigate the user. in my opinion, it made the experience feel better.
I turned off the mesh renderer so the planes would not be visible on the hand and carried on to trying out different skyboxes. I found a website with free HDRIs and picked a couple out to experiment with but I ended up choosing to make a simple mono-colored skybox and later adding particles for character
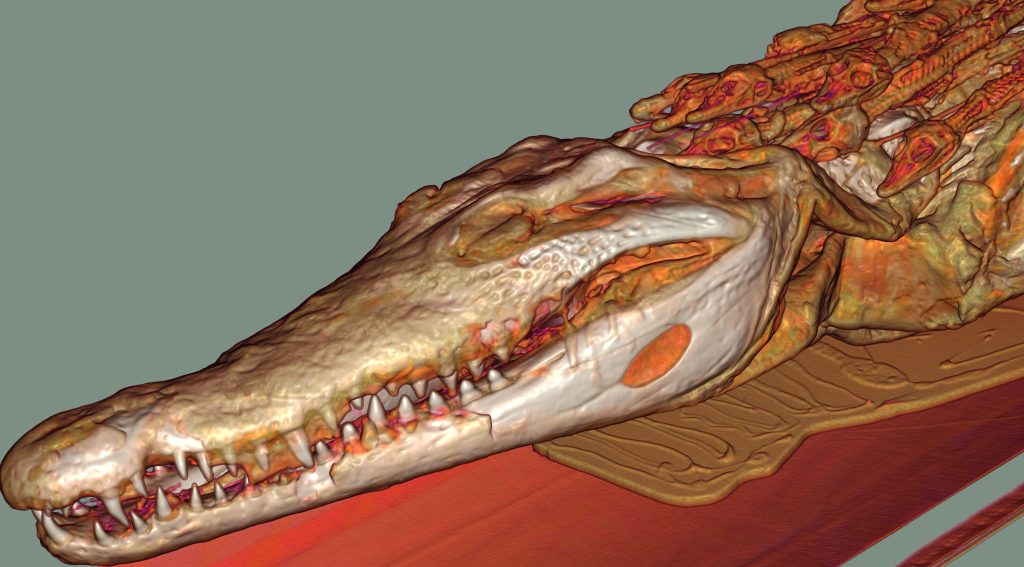
One important detail I had to make was the shaders for the anatomical figure
What I ended up with is making a shader using the shader graph which would calculate the width.
(Shader explanation) Two meshes with each their own shader.
The x-ray cut is made with a parameter from the world position information. (This is applied for both shaders the body and the organs). The two parameters are synchronized in the script.
The transition of organs from transparent and non-transparent is done through dithering. Plus, it has parameters that modify other parameters of materials on the objects.
The script has the parameters of two materials, the width, and other things for the materials.
After making the shader everything else was pretty self-explanatory and most of the environment building was done. That is when I had to move on to the mechanics.
Code
My game did not require too many mechanics because it is mainly about exploring and walking in the environment, so all I had to focus on is the player position and the player movement to make sense of the components in the scene.
The first bit of code that Herman kindly helped me with is position tracking so that when the player moves the CT scanning would follow and highlight the correct organs for the areas. For which the code was simply tracking the position between two reference points which I have set as cubes with the mesh renderer turned off one on the wrist and one on the tip of the middle finger.
After showing the project in progress to several people I kept noticing that everyone at one point or another falls off the hand and there is no way to continue unless you restart the experience, that as annoying so Herman helped me code a collider function in which if the user falls off they collide with a big pillow underneath the hand and respawn to the middle of the hand.
This is what I wrote following a tutorial on YT but I did not use it in the end since it wasn’t quite working with the XR rig.
This was a tiny bit of code to trigger the UI sprites to appear when the player is in the area of the dotted animated sprite.
UI
I started thinking about UI pretty late in the project development process.
Since I had to make the scene first and everything that had to do with the environment.
It ended up costing me some clarit and a menu manual with the explanation of the project, which in my opinion was quite vital.
Nevertheless I did manage to make a bit of UI sprite sheets and experement with the look of them.
At first I briefly drew a couple of templates in Paint to get a better idea of what I am actually able to make in the time that I have, so that was that.
After drawing I decided to make a bit of a diagram of what would allow the user to pay attention to a certain point to trigger the UI sprite sheets. That is why I wanted to have a dotted line circulating and attracting the users attention.
For a while I couldn’t find the proper sprite sheet of points or dotted lines so I made one myself but did not end up linking it to much either.
I went to Unity Asset Store and came across exactly what I was looking for. They were 2D target sprites by Elizabeth Studio and they were freeeeeeeeeeeee, of course I had to import it into my project.
https://assetstore.unity.com/packages/3d/animations/2d-targets-sprites-142142
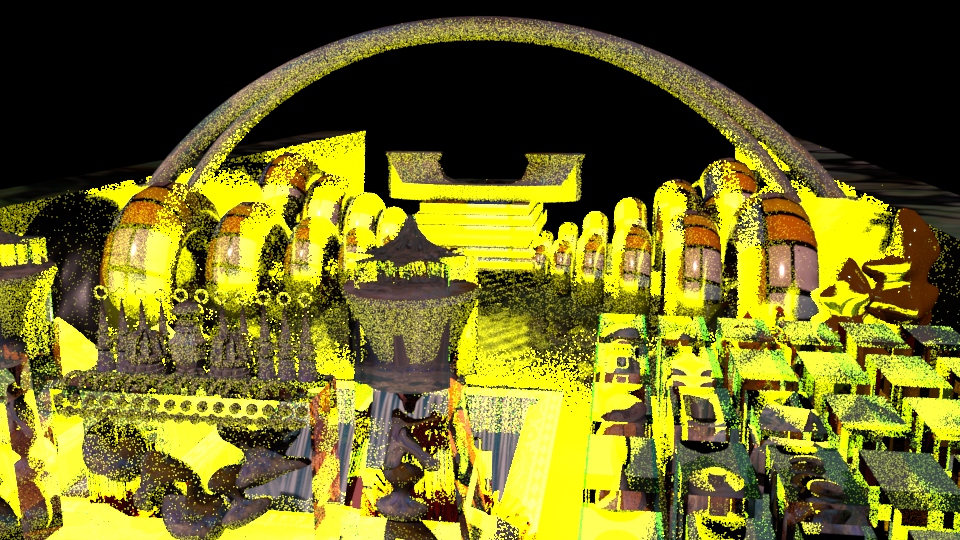
For more user attention guiding and making the environment a bit more appealing I searched in the Unity Asset store for some low poly particle systems and came across a perfect pack by Polygonal Stuff and distributed it throughout the points with the UI sprites and used the cloud particles for the environment.
Part of the UI I experimented with but ran out of time before making it usable/presentable is the start menu with experience explanation.
Finally the last part but crucial nevertheless is the organ sprites. I wanted to find something suitable and add text or audio explanation of the effects and functions of reflexology, but had to settle down with the drawn organs based on a sticker pack I found on Line Store called Organ World by Overained.Design.
I used their illustations and painted over them in Procreate to change the style.
https://store.line.me/emojishop/product/5c7a2ca8040ab18d4f10fe91/en