Pressure Points in Hands and Feet. VR Design Research Lab
3D Modelling/Finding Models/Everything to do with 3D Models.
Initially, the plan was that I will model everything needed in the environment and it ended up being this way. I started following a youtube video on modelling a hand, but Understood that it would take too much time to do everything from scratch.
Here is the link to the video:
In the process of deciding which ones of the approaches I will go with I had a chat with Anna and we came up with a couple of ideas and so I started testing them out.
I tried different approaches to making the hand model and paid a lot of attention to details since it was the most important aspect is the whole environment.
Due to time constraints, I had to pick up the pace at the end but I did end up finding the most efficient way of making the hand.
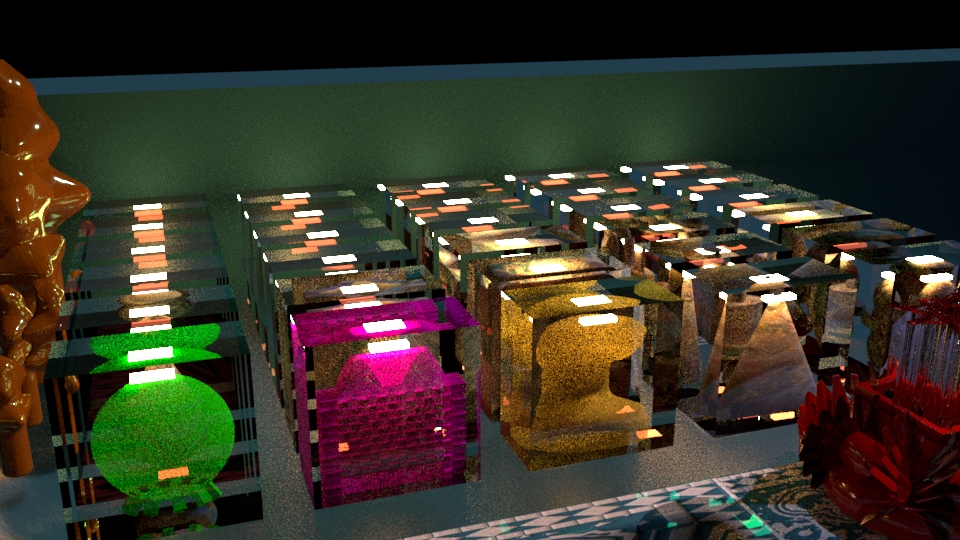
At first, I just downloaded the first possible hand model which was low poly so it wouldn’t take too much time to experiment with it for reference of size and to test the method of applying Materials straight to faces. Here is how that looked:
This is the link to the model from TurboSquid by Chrisroll I used:
https://www.turbosquid.com/3d-models/free-obj-model-hand/316501
Since I did not really like the blotchy look I wanted to see what could I do to make the materials look a bit more creative and transparent.
I started looking at different shaders and effects I could do in Maya and come across a company called Artneering which does a special rendering effect where it allows you to make something look drawn in either watercolor and a couple other techniques.
I tried playing around with it, but soon realized that it is impossible to export into Unity so I let go of the concept and moved on.
https://artineering.io/styles/watercolor
I have also attempted to retopologize the hand so that it has the areas as faces:
It still did not give me the effect I wanted of the environment being not planar.
After retopologizing I wanted to see if I could build the faces, though after exporting the faces into Unity it looked awful.
At this point, I was losing the initial morale since these experimentations took some time and I did not want to spend so much time on them. This is when I came across a video in YT about curve projection on to mesh:
I started looking further into this method and it ended up being the right one for what I was trying to achieve. I downloaded an amazing 3D model of a hand from TurboSquid by Caliskanuzay:
https://www.turbosquid.com/3d-models/human-muscular-hand-2019-3d-1440075
Since the model was extremely detailed and the polygon count was high it took a long time for Maya to process the boolean function and it was often crashing. This could not do. I used automatic retopologizing and the model which came after was quite perfect. Although I would have wished for a more detailed environment.
I ended up hand drawing all the curves and this is how the process went on:
-draw a curve in the front view.
-adjust in perspective to fit on
-project curve onto the mesh (mesh tools -> project curve on mesh
-delete excess curves projected
-duplicate and move the curve to loft
-with the lofted surface adjust the look
-modify-> NURBS to polygons
-select the mesh-> fill hole
-move in the main mesh according to how deep you want the hole to be
-select the main mesh then the lofted mesh-> booleans
Sometimes I would have to make the mesh live and draw the curve straight onto it since the projectioin was a bit off at times.
After the hand models were done I started working on the anatomical dummy, I had to scout models from Turbo Squid and Sketchfab to put it all together. I did try modeling the brain to see if I want to make the dummy stylistic, but modeling everything would have taken too much time so I gave up.
Here are the links and names of the people and studios whos models I have used to put together the anatomical figure:
https://www.turbosquid.com/3d-models/human-ear-obj-free/553069
https://www.turbosquid.com/3d-models/hands-model-1230153